These appear (to me) to be on the right track to help when switching between different inputs.
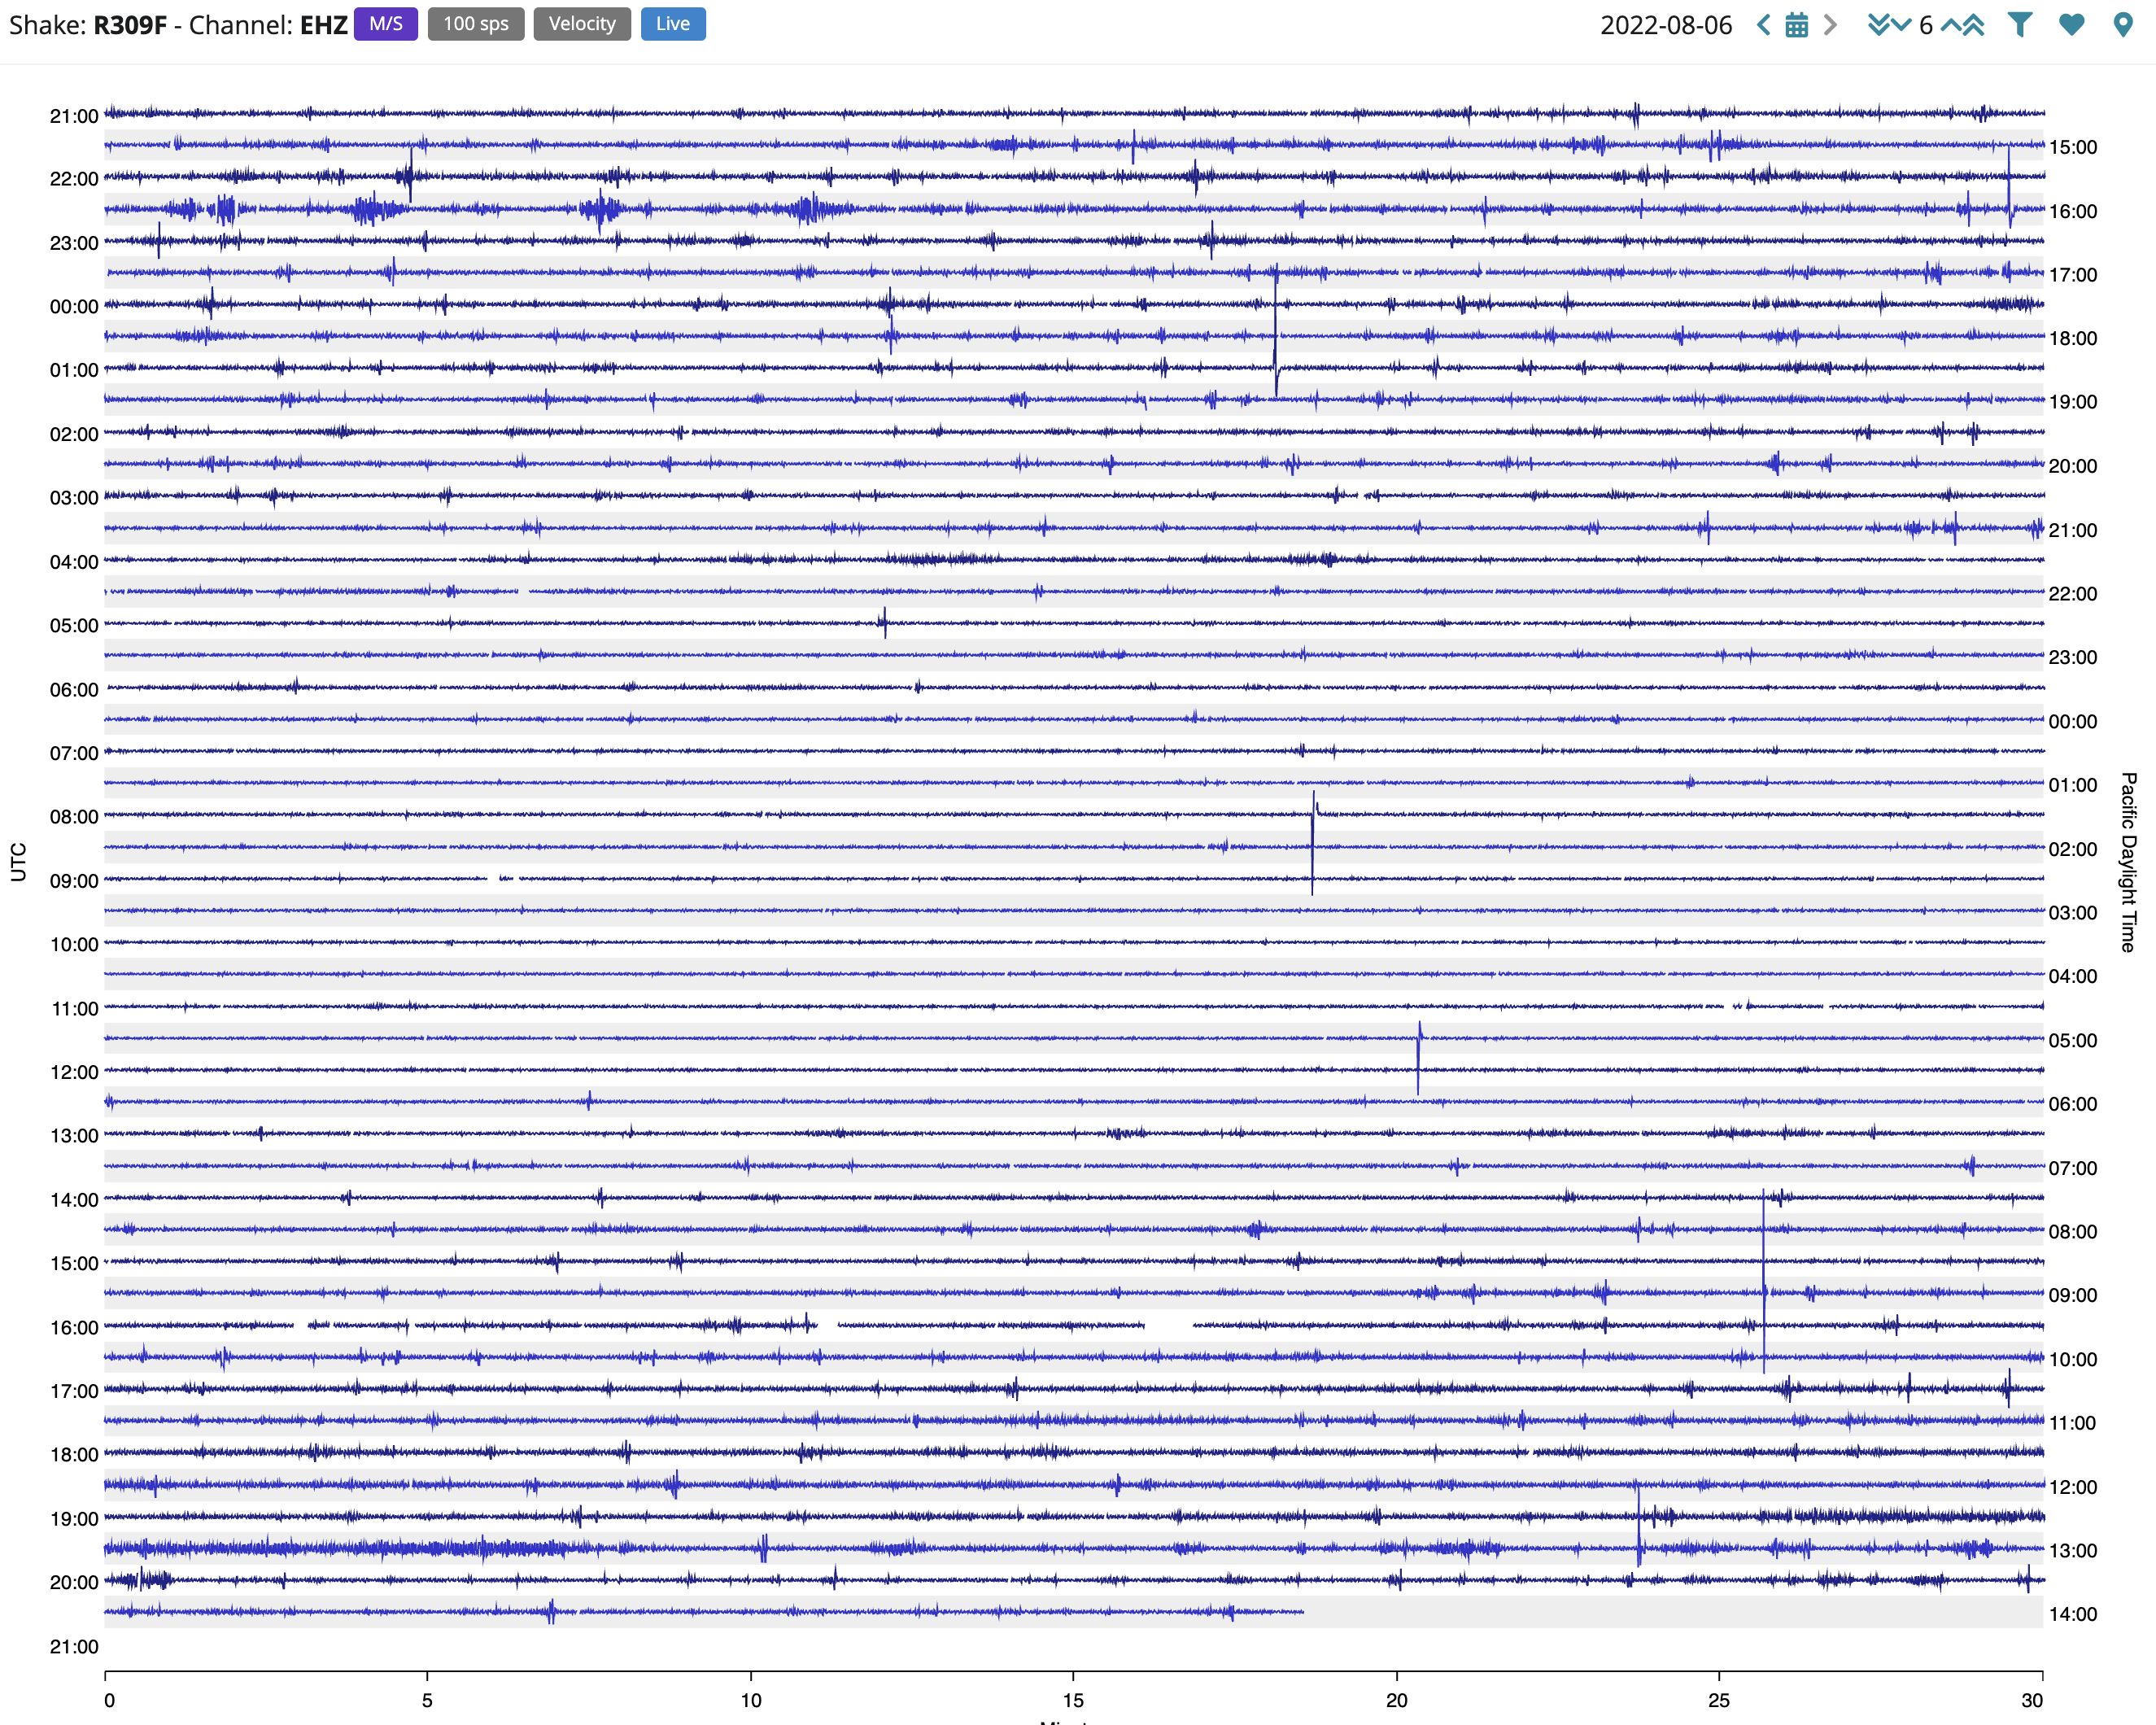
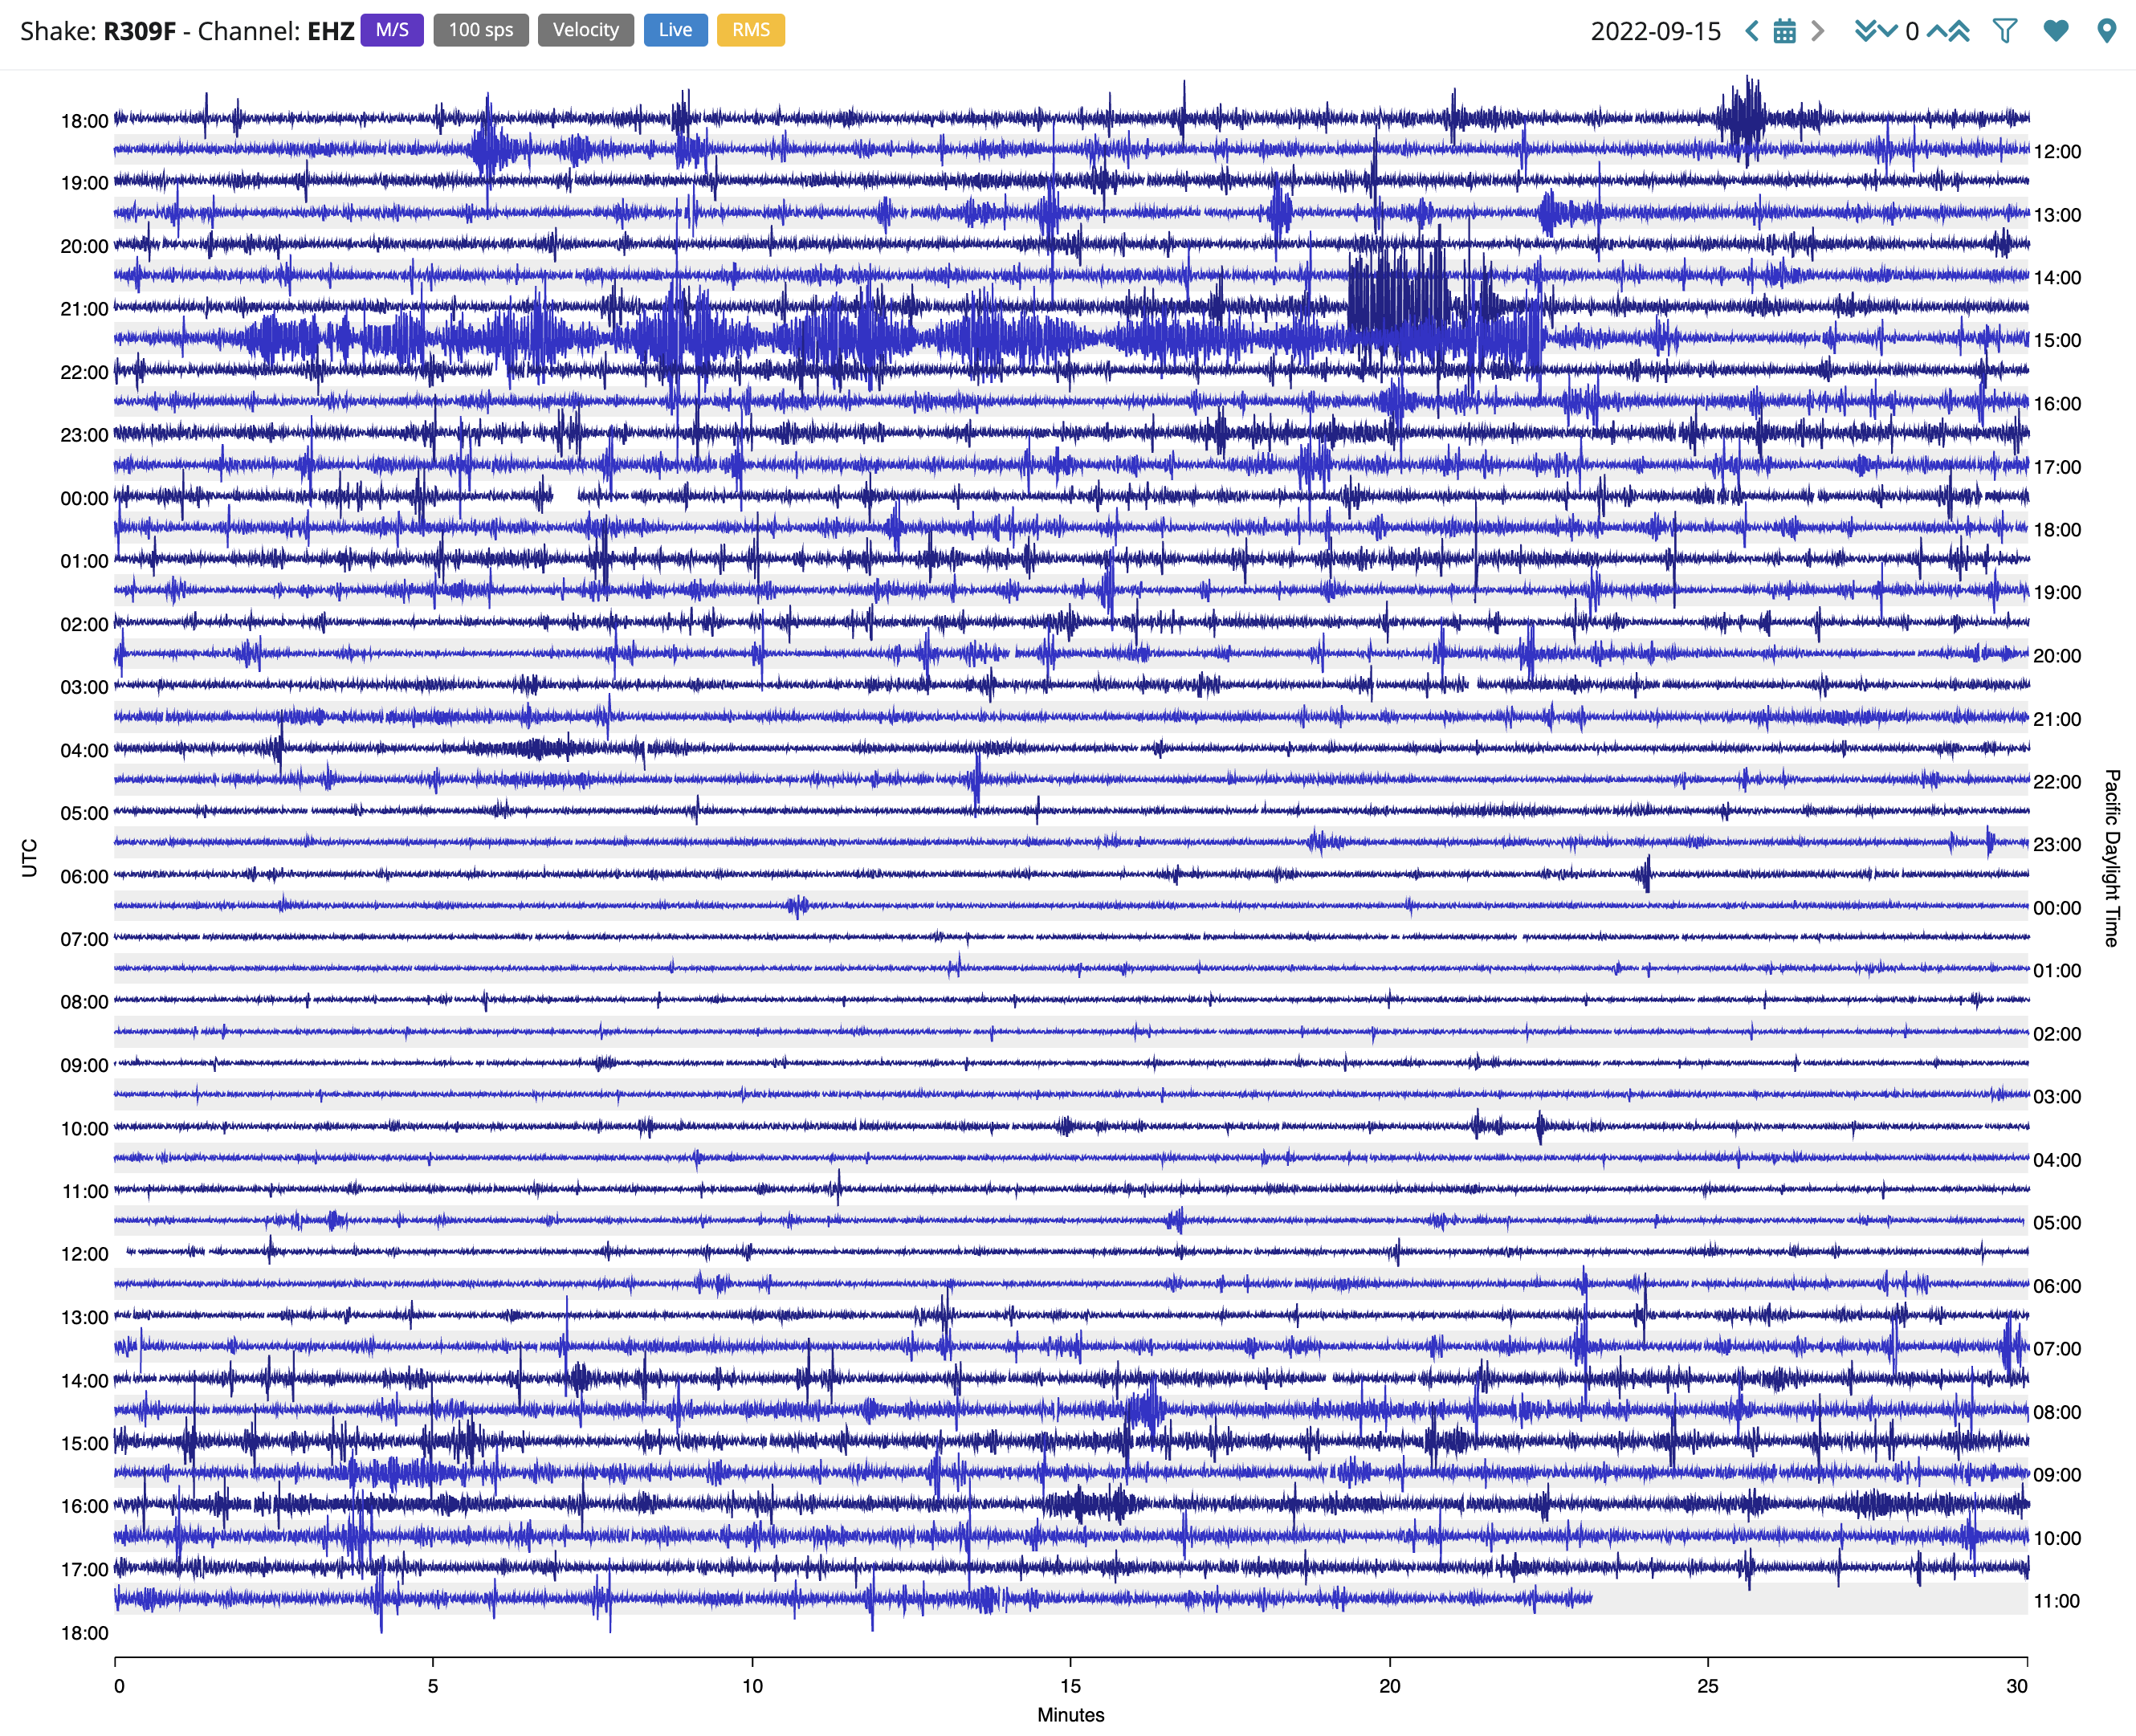
What I might suggest to make these a little more useable would be to reduce the base amplification factor of the RMS autoscaling - it is just a bit too high for my taste, and set the default clipping level a little higher? 2,000 seems a better default to me, although, it isn’t so important as the RMS autoscaling factor, because you can set it yourself. My shake is relatively quiet compared to many “home” systems that I have looked at, and even so, with autoscaling on it looks very “busy”.
Of course, these are just my preferences. Others might have other ideas…
That works pretty well for me. If I turn on RMS autoscaling, even with the amplification factor set to 1, it is too high for my liking, and no way to do anything but turn it up:
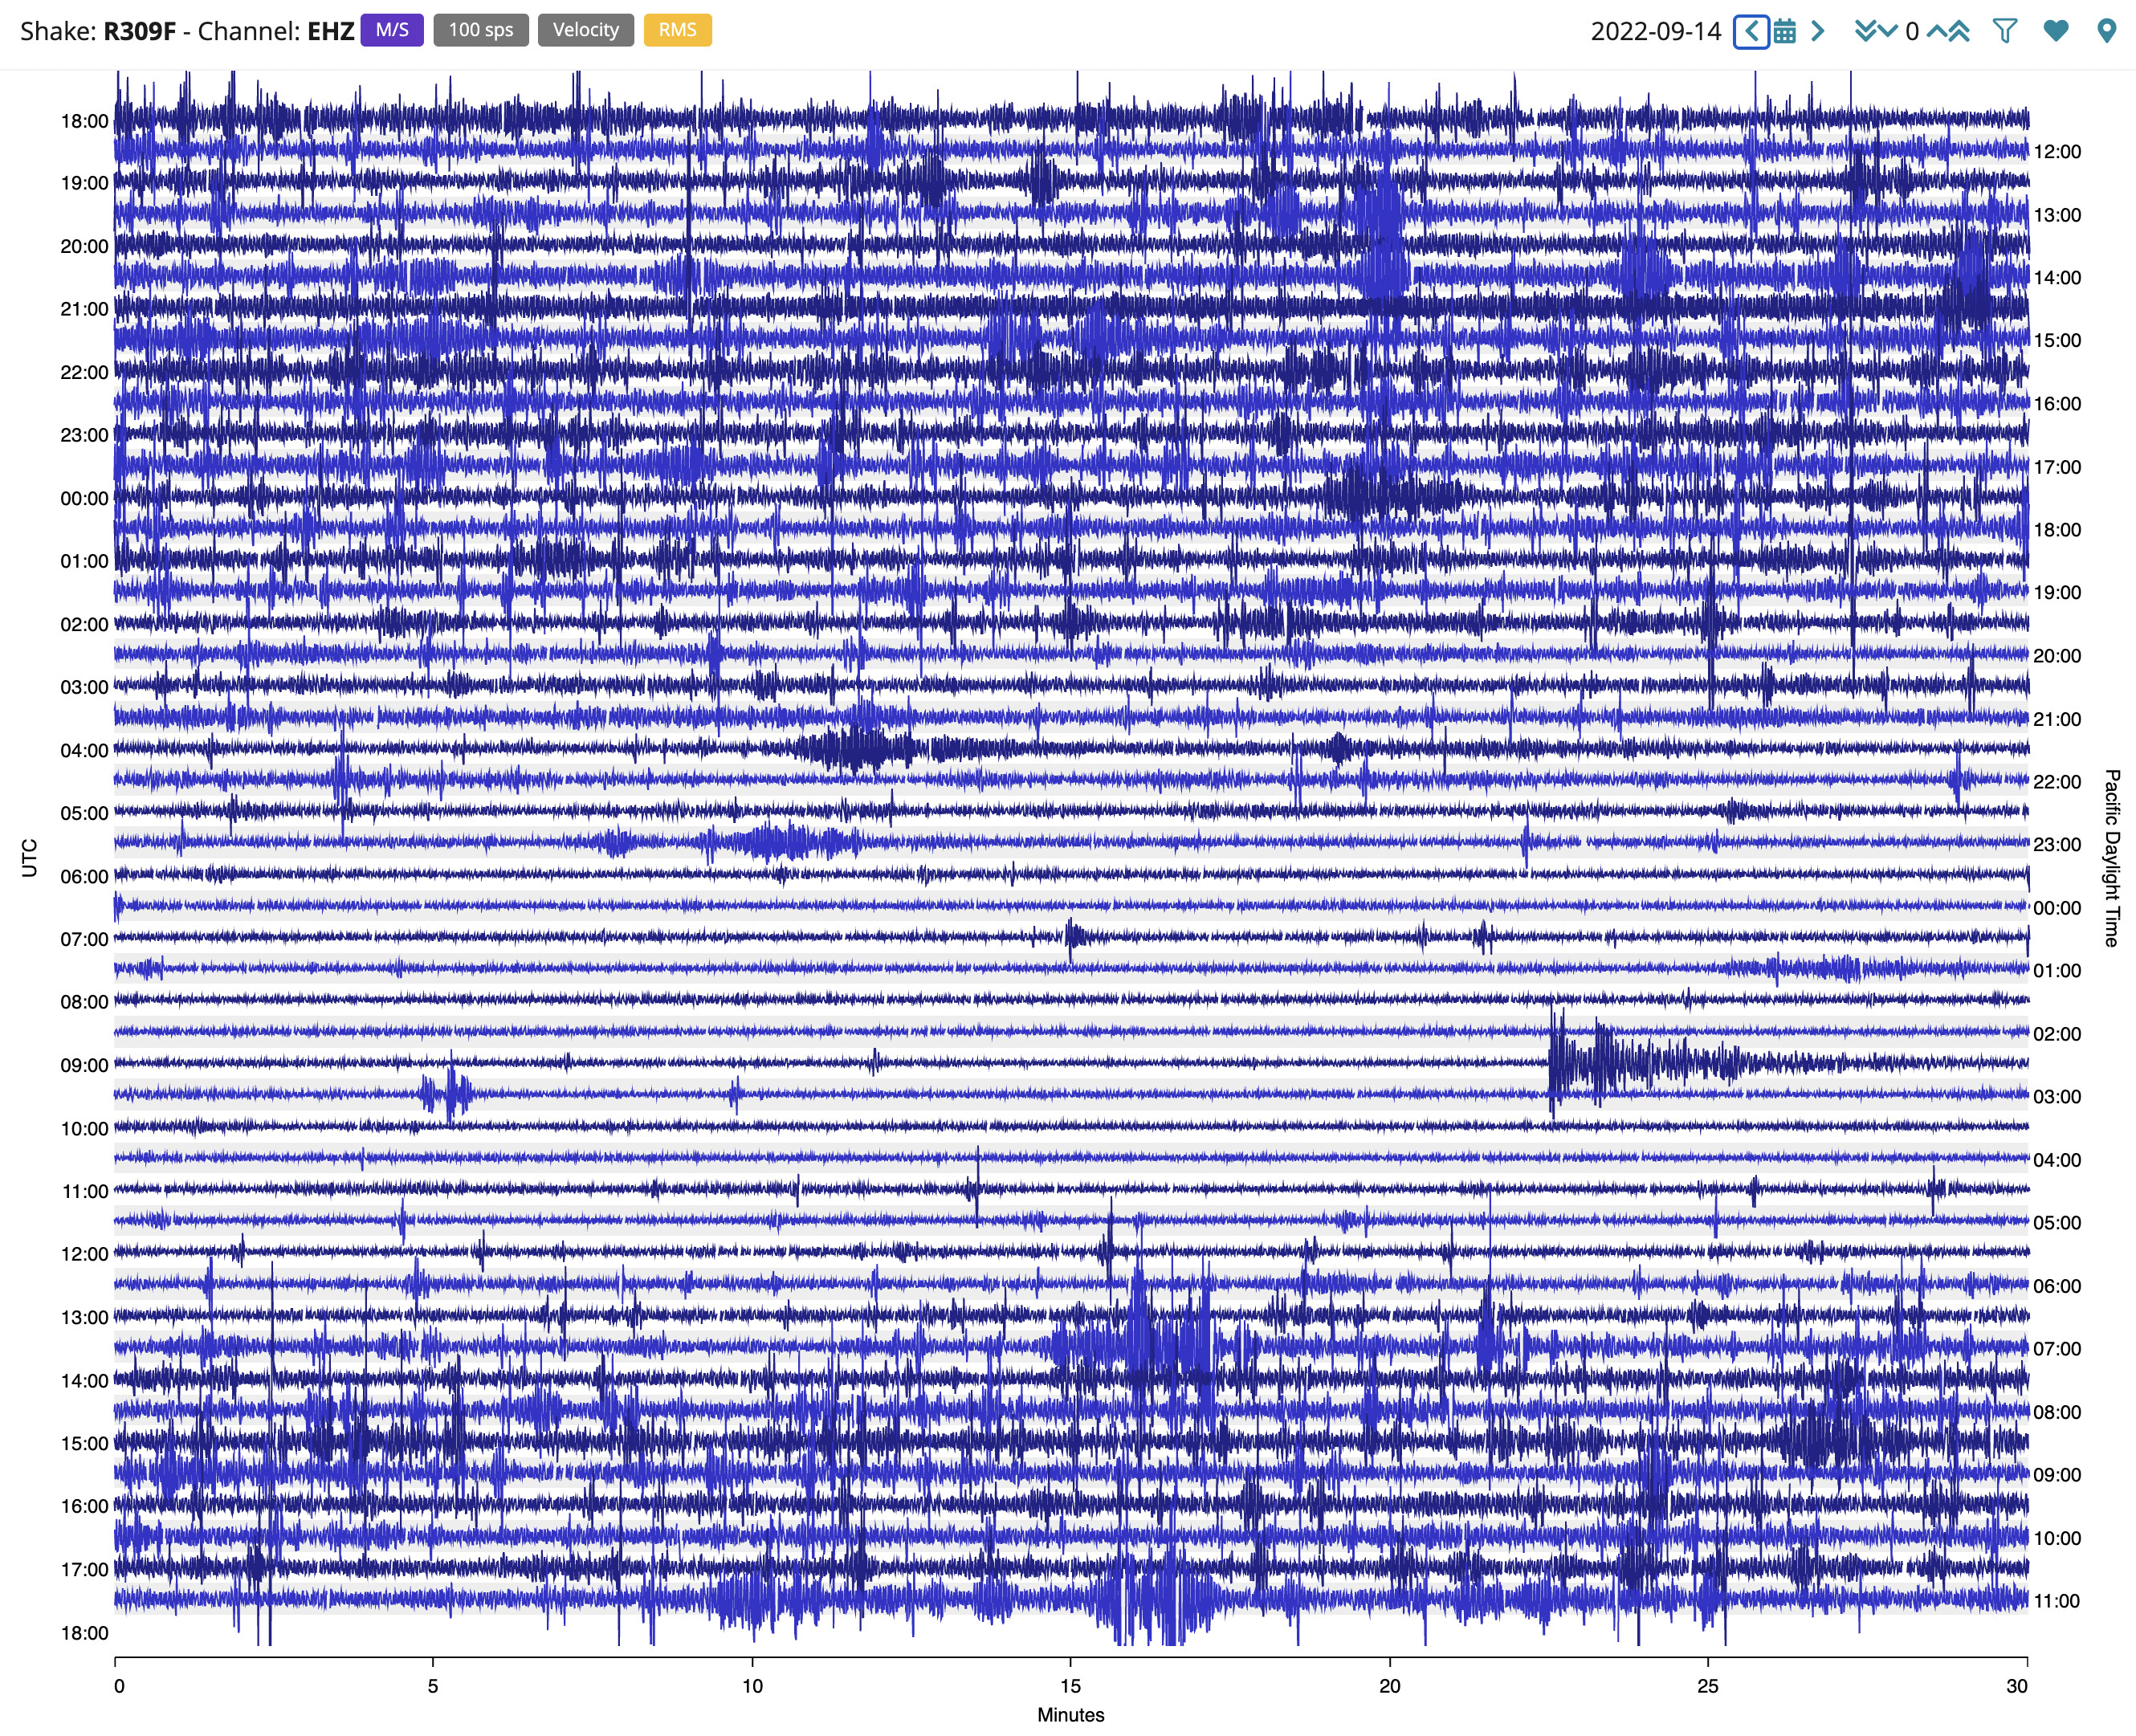
I set the clipping level to 2000, which is still too low … but ok. It nicely removes those spikes, but it also increases the amplification. I have to manually reduce it to 1 to get back to roughly where I was with 6 previously.
The other thing that would be useful is an indication of clipping. Maybe coloring the clipped section?
Very definitely useful additions. Just in need of a bit of tweaking IMHO.
Hello Philip, as usual, very insightful feedback, so thank you!
I will pass your observations to our development team, and see what they can do about it. For example, the RMS autoscaling looks perfect on my Shake, but it is understandable that different locations will bring different results.
As of now, it is not possible to use both clipping and RMS at the same time, because clipping supersedes RMS in any situation because it can be both set by the user, and it also re-scales everything after cutting out the higher spikes (or the unwanted signal).
You can also set the clipping value by using the first button in the waveform popup:
Just select a part of the trace that you want the system to take as a reference, and then the clipping will be automatically set to that. In this way, it is possible to move around in the helicorder more easily, rescaling the entire view as you deem fit for different waveforms that you want to check in more detail.
This is why we are continuing to develop the Beta, there is a lot to cover! Thanks again!
Ok - the clipping is being used slightly differently than I envisaged - I still think it is important to show where data is being clipped. It would be just too easy to leave it enabled and think nothing much is happening, or wondering why that 6.0 50 miles away isn’t showing up
With the old fixed amplification mode, and my default settings, that would look like things had been pretty rough around here for the past 24 hours - which is partly true, because our drive and the road are being resurfaced - but even so…
Which got me thinking … I can tell this is amplified more than my usual settings by the size of those spikes (did I just find a use for the spikes!!! ) – how do I tell the difference between a normal, quiet day, and one with lots of noise - earthquakes, etc.? Just by glancing at the graph? – I can’t.
Suggestion: Somewhere put an indication of the (auto) amplification factor used for display.
again, thank you for your feedback! It was a good starting point for the latest batch of upgrades on DataView.
Now you can:
decrease the amplification factor even below zero, so that you will be able to minimize the helicorder traces to a level that is agreeable with what you prefer
use both RMS and Amplitude Clipping at the same time, if needed.
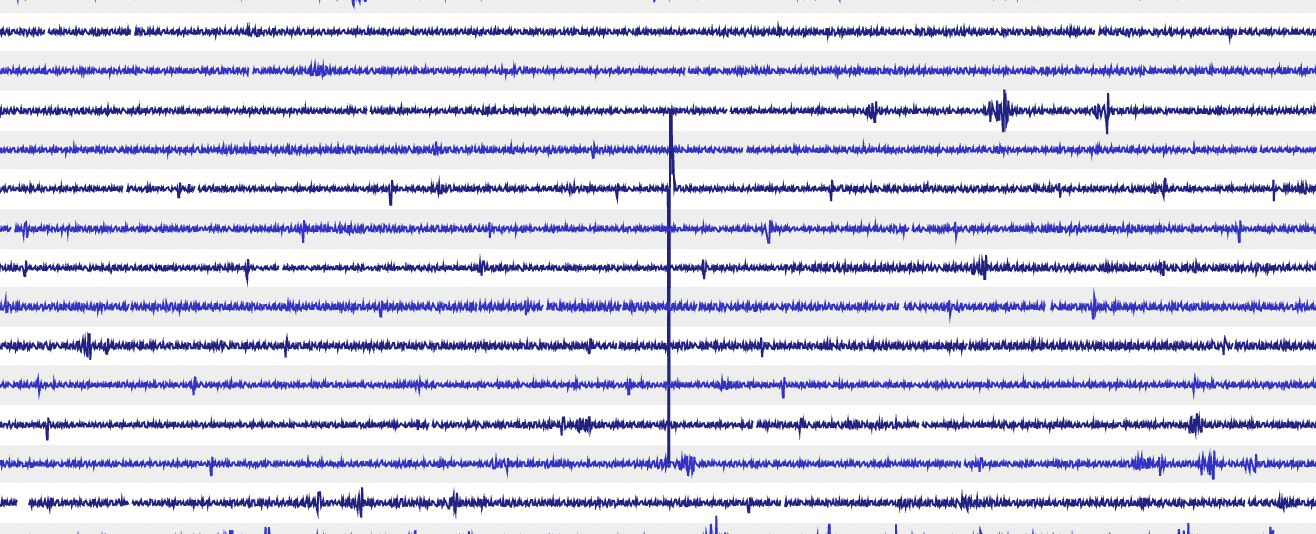
see what has been clipped out, as that section is now colored.
All the rest of the settings have not been changed, so the customization is even more personal now.
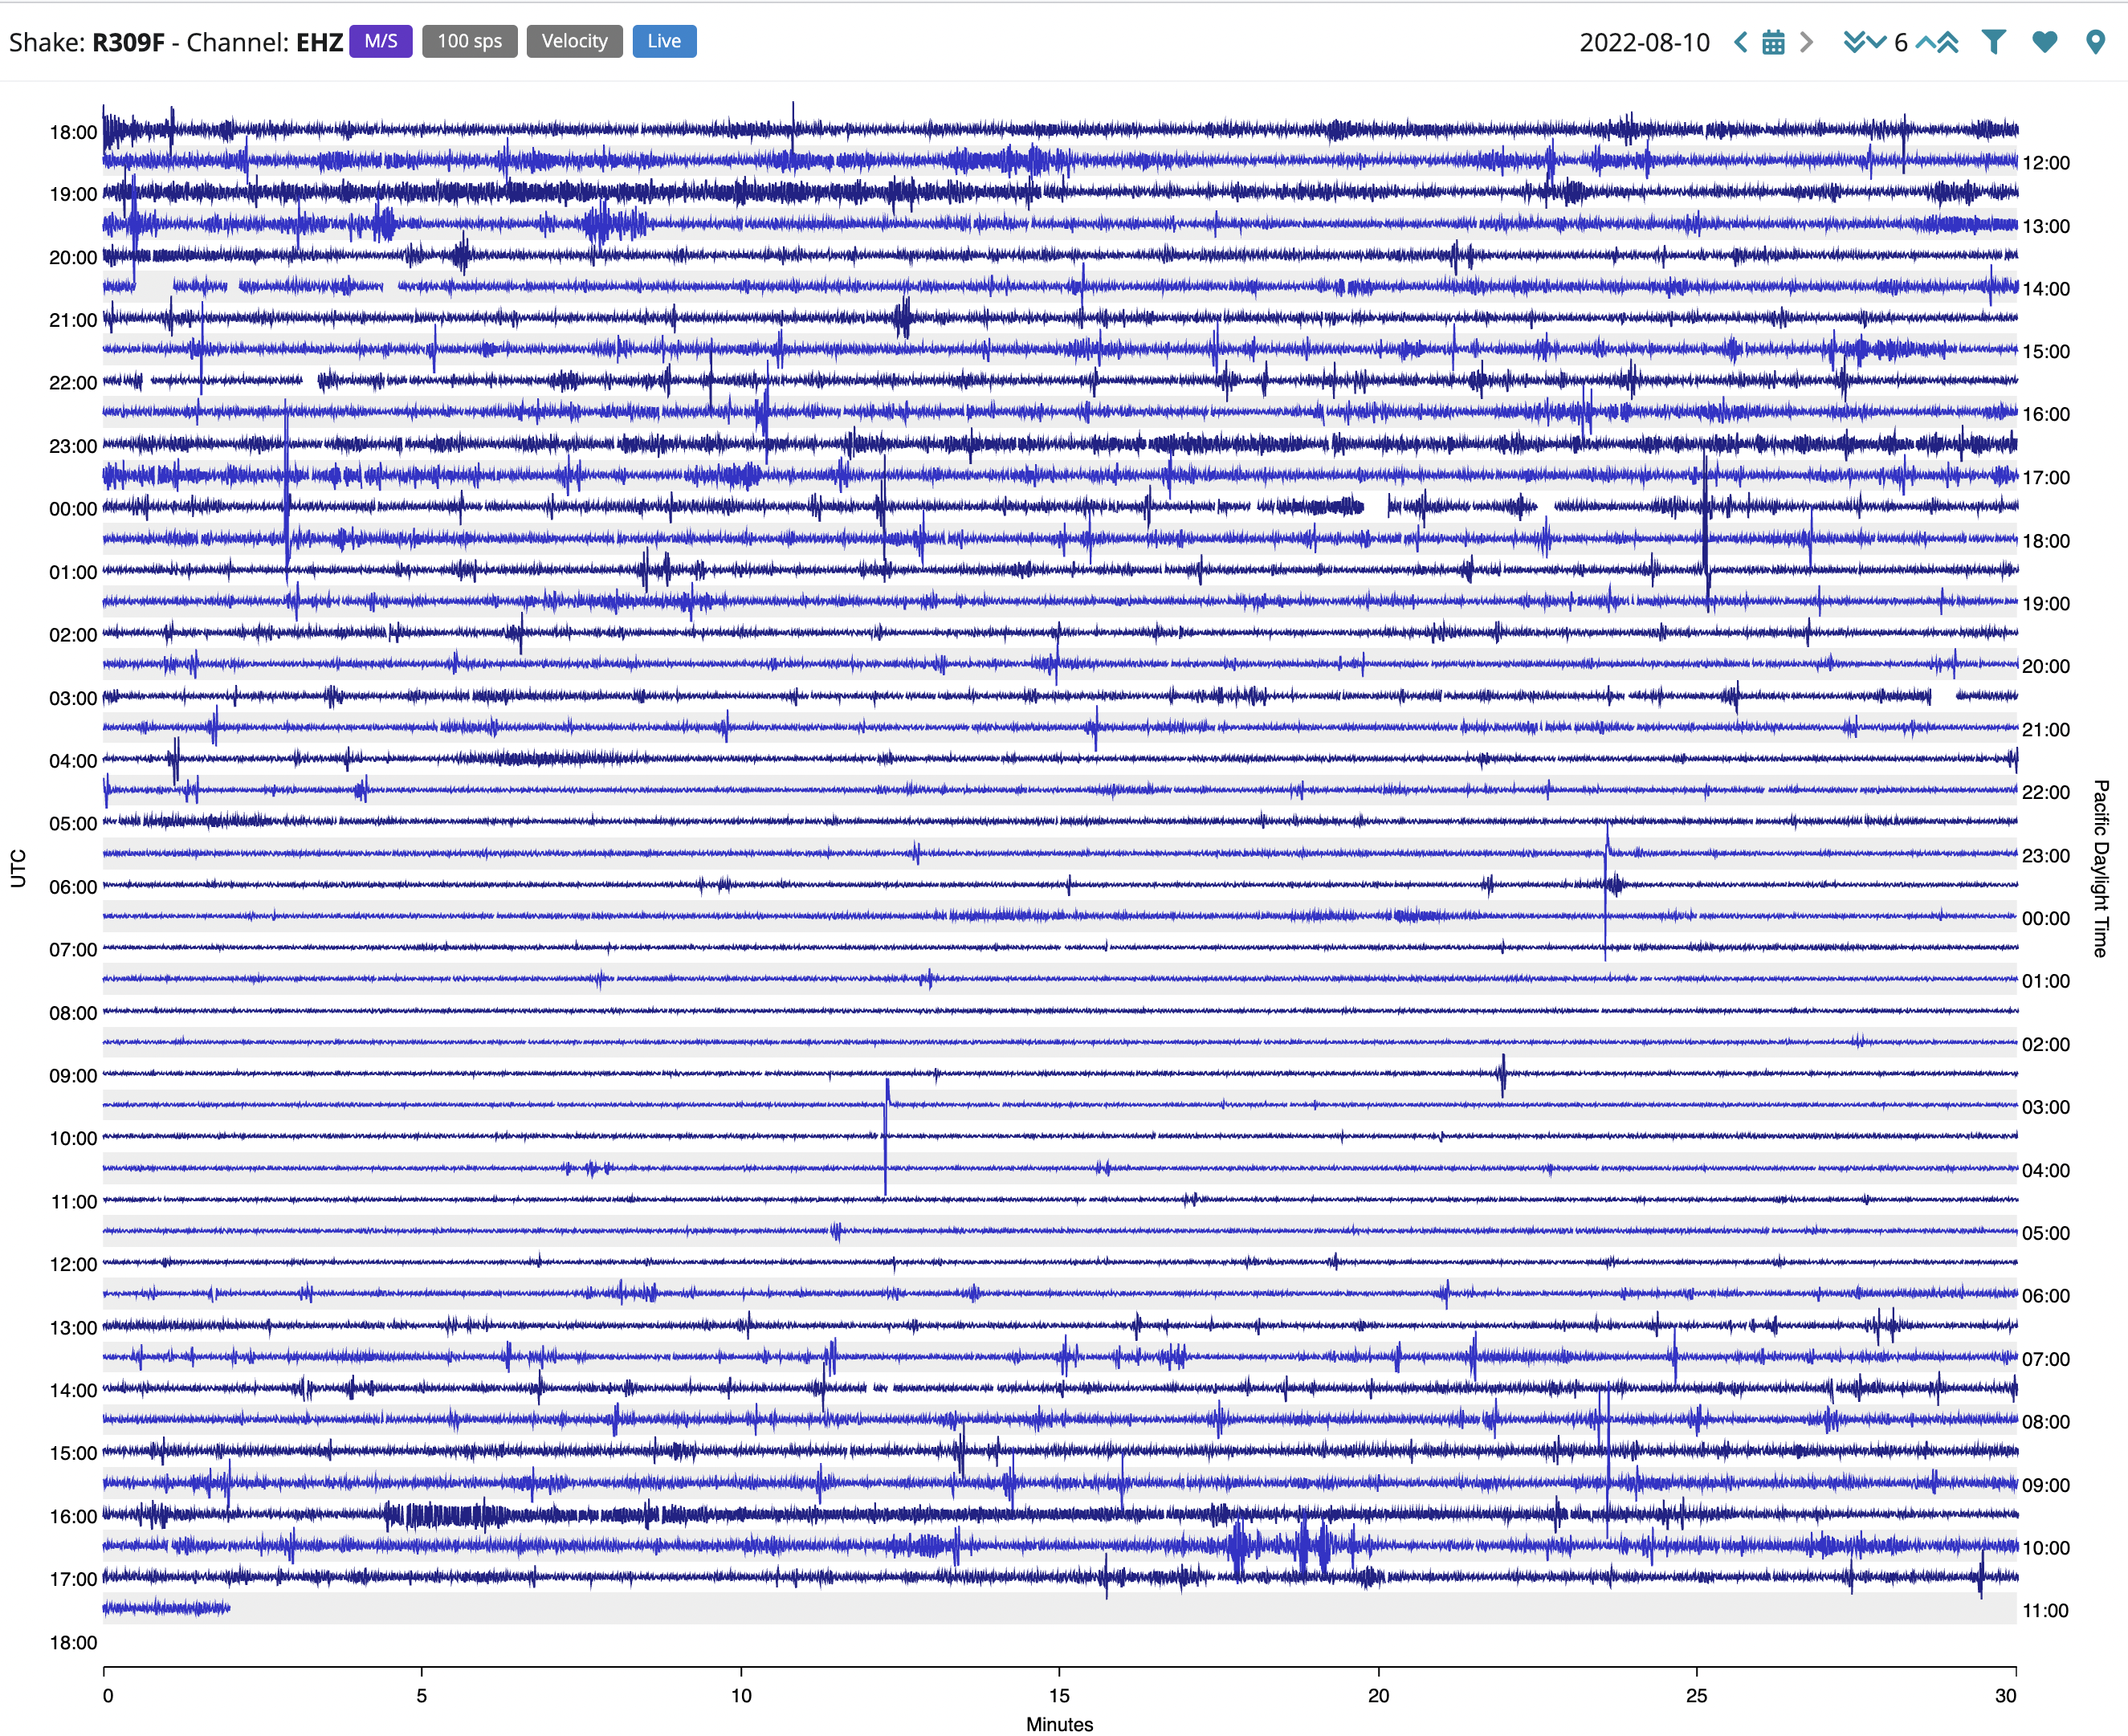
The default amplification now looks fine (looks like it may have been reduced a bit), but nice to be able to adjust it down further should the need arise.
Clipping when RMS amplitude is in effect clips to RMS level (non adjustable). I don’t know what the idea was behind that, but if it is non-adjustable, I would have thought something more like 2xRMS would have been a more useful choice … but whatever fixed value was chosen, someone would always prefer something else
But, nit-picking apart, this is getting to be a very useful tool!
Edit: -------
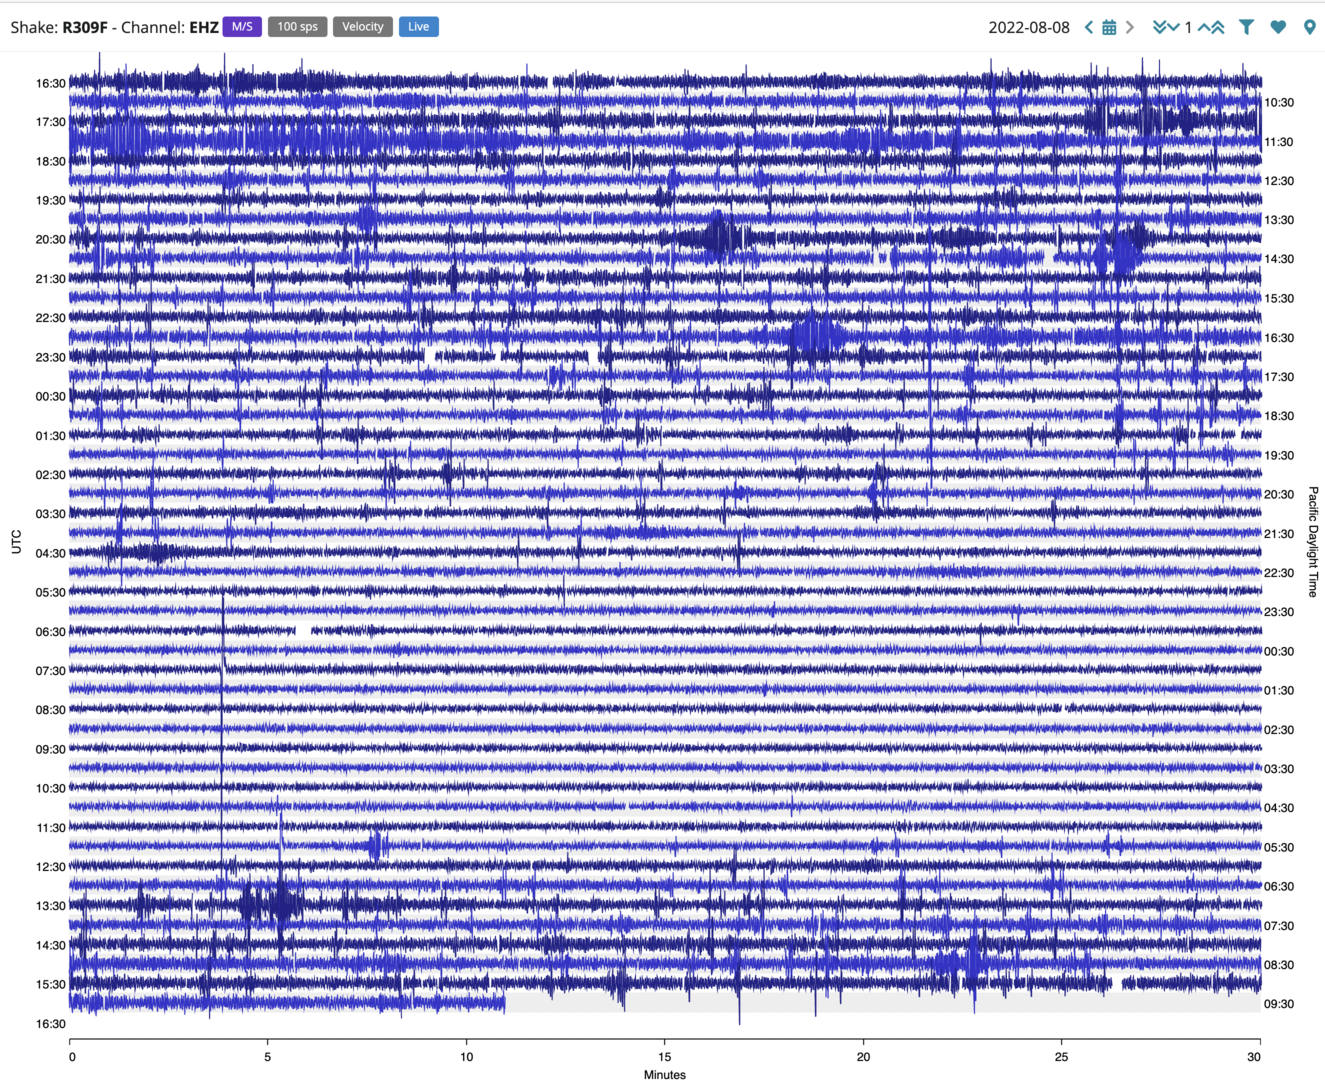
I was wrong about the default amplification factor having been changed upon further investigation.
There was just a burst of noise (tractor …) that brought down the amplification so that it all looked fine:
I hope you mean that Sometimes, I wonder if I am just being a nuisance.
Assuming the best answer, one more point:
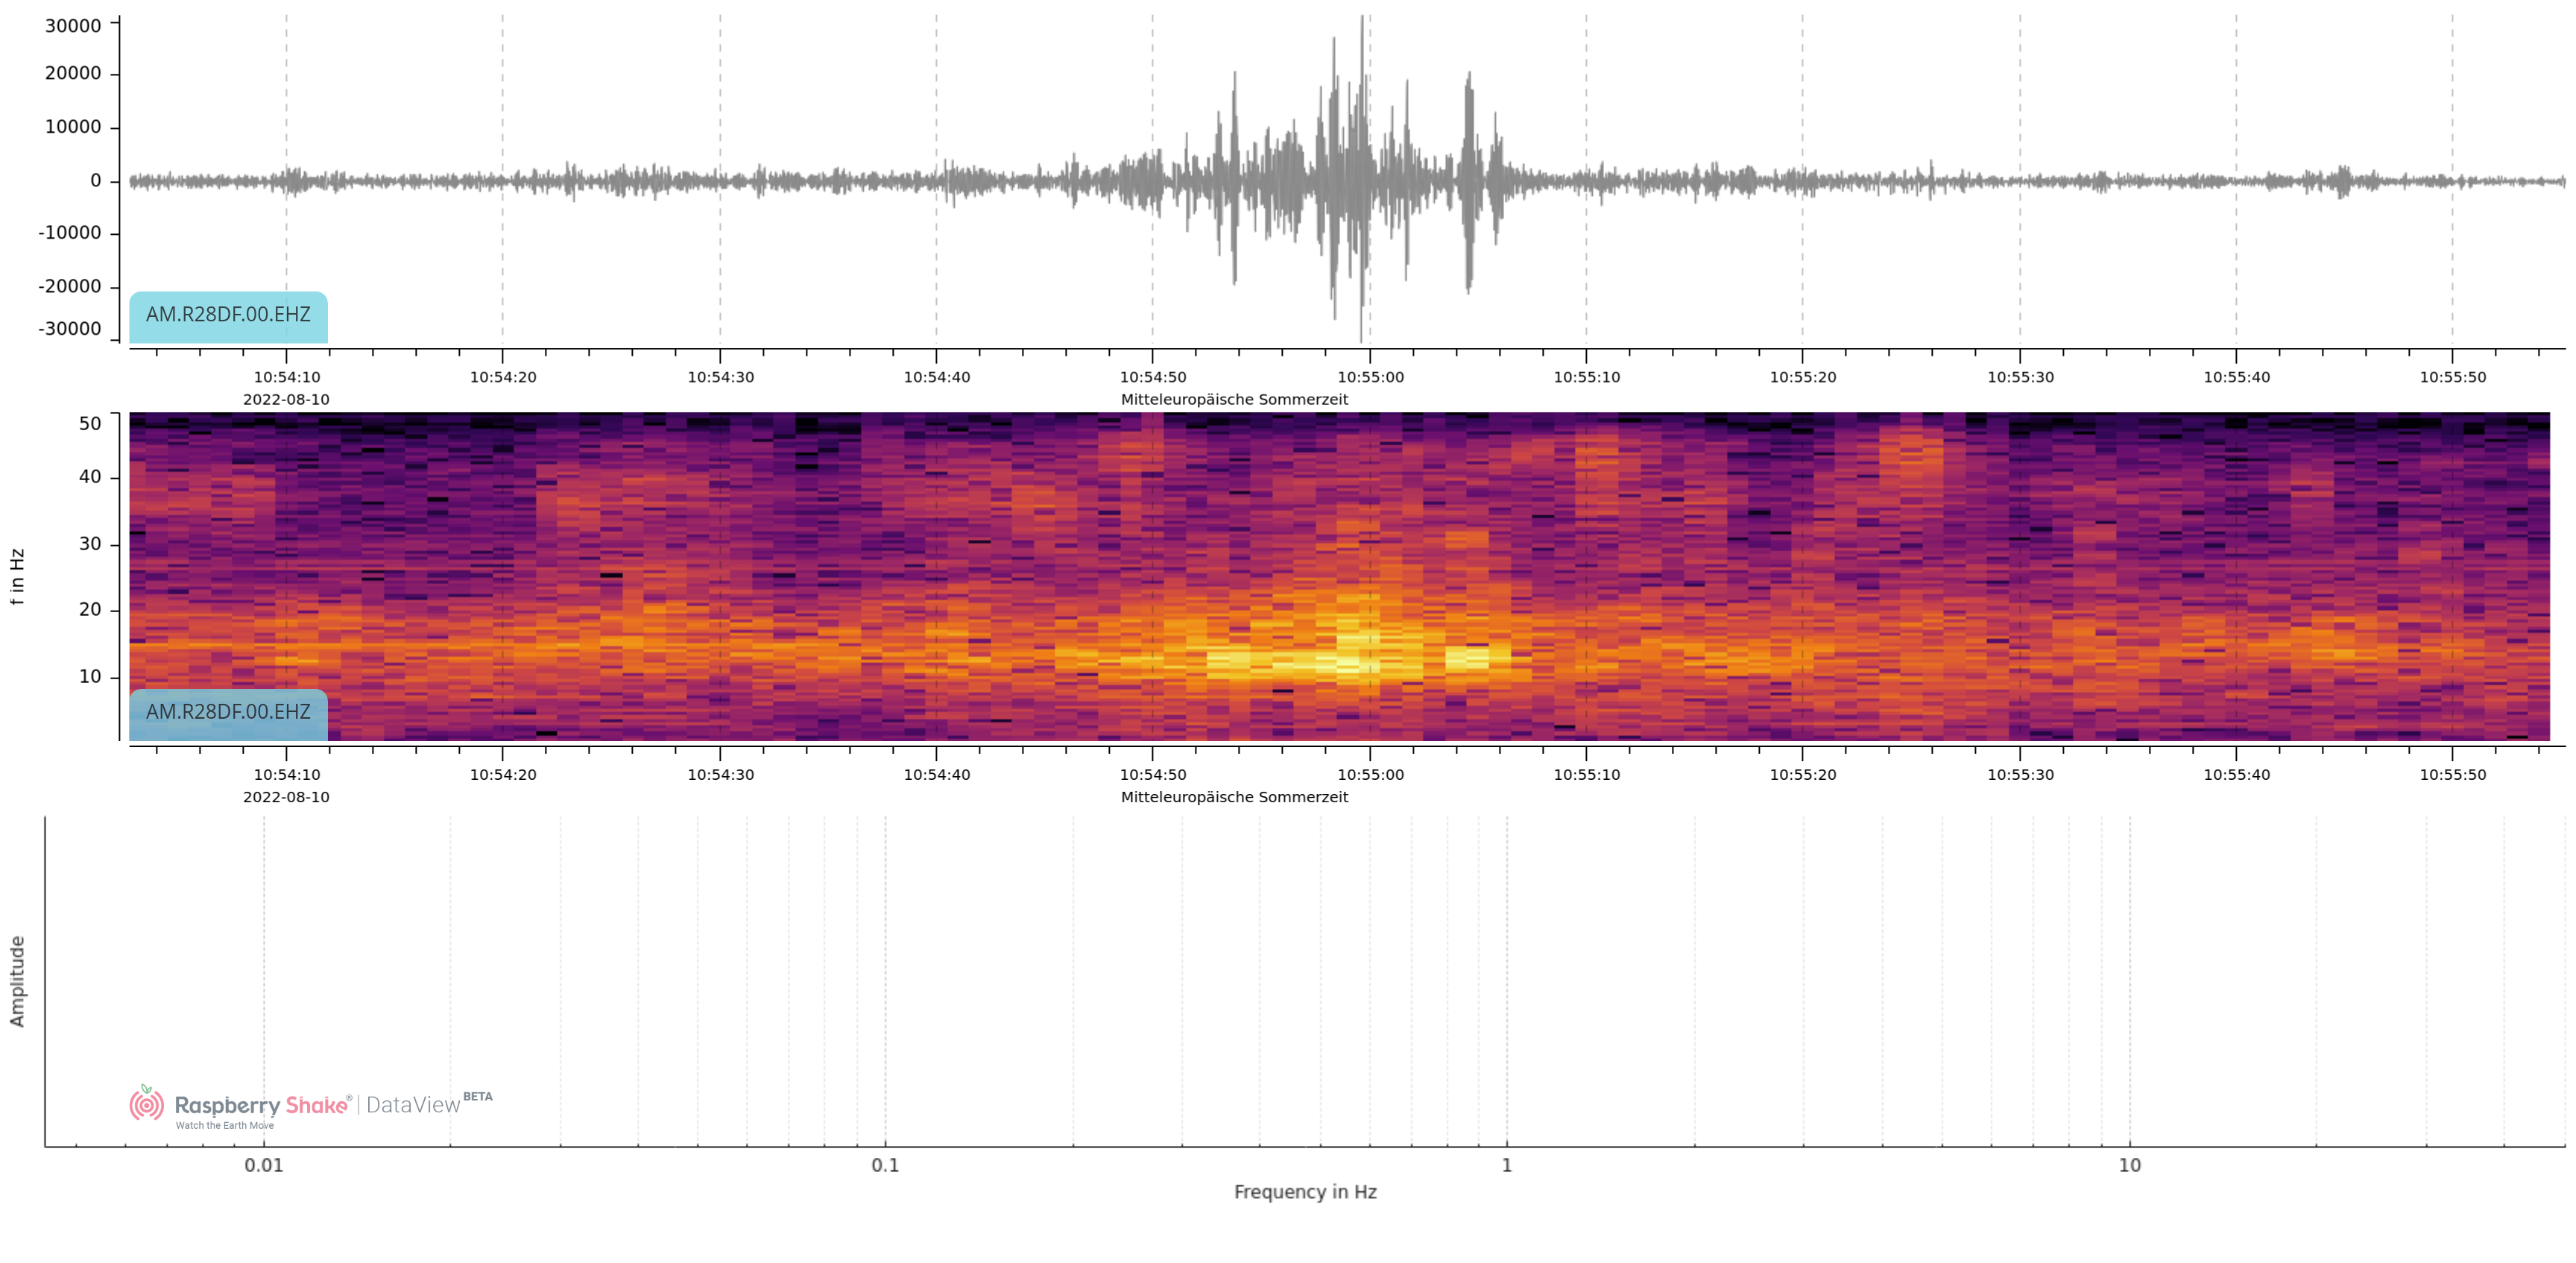
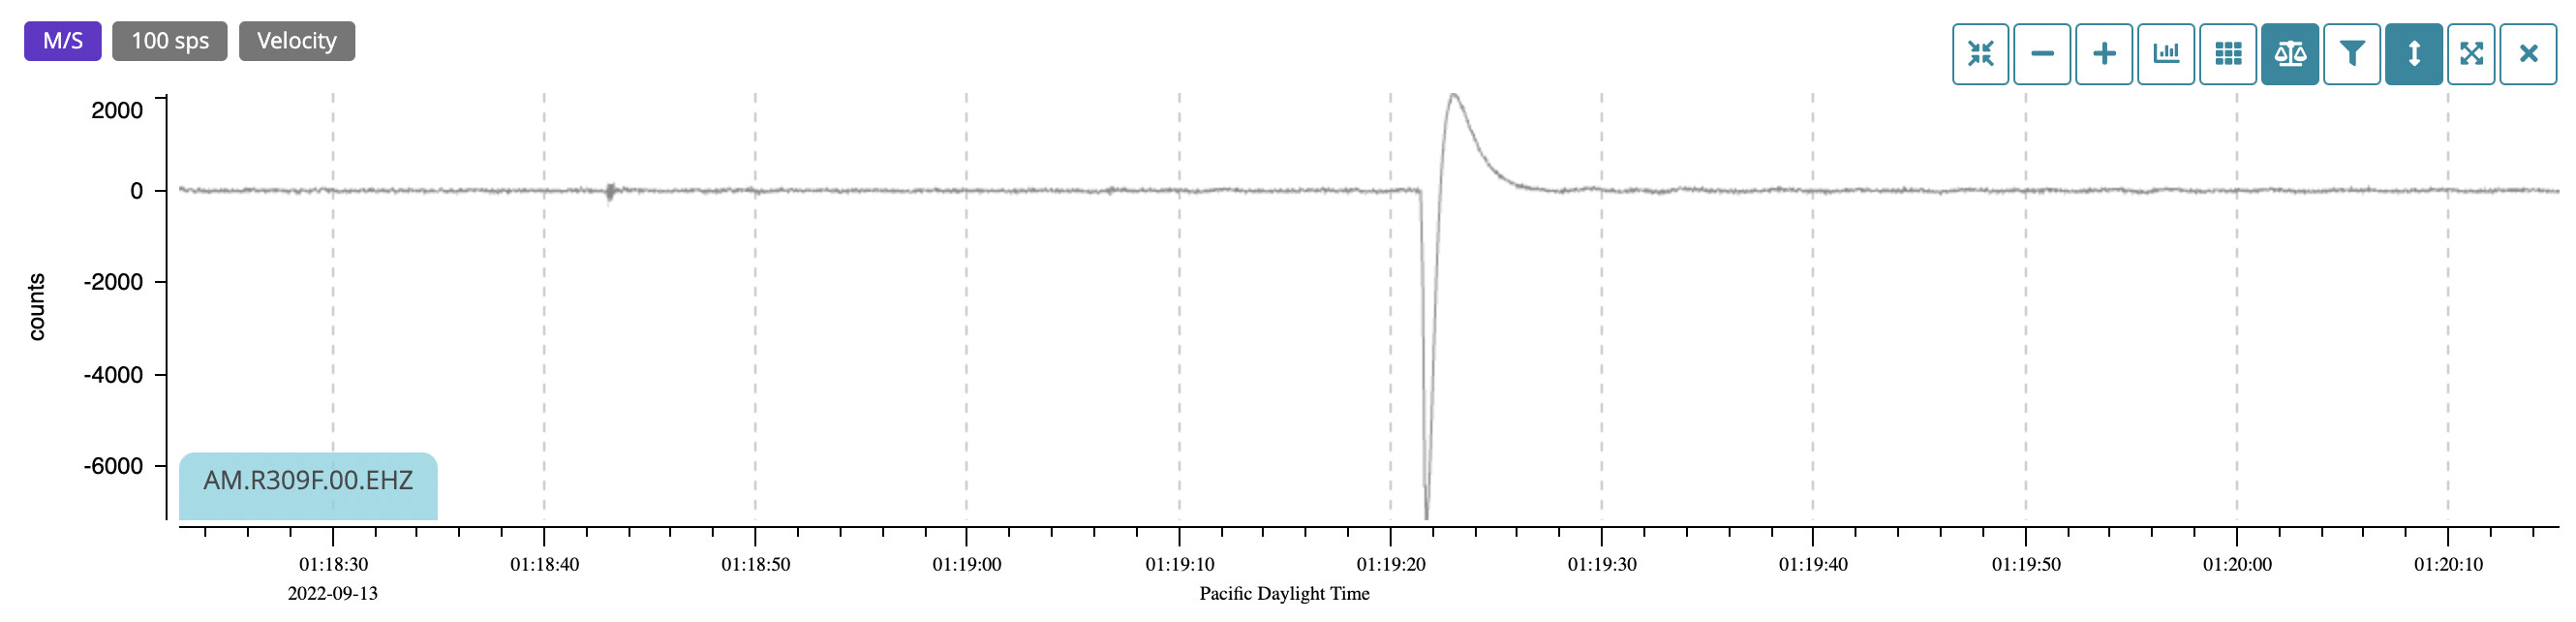
Clipping. At the moment, it appears that anything that exceeds some value is clipped to some pre-determined (?), much lower value. What I would find useful would be clipping which behaves in a more “traditional” sense. For example, large spikes are my biggest problem where I would like to clip:
just truncating the the spike at 2000 (where the red line is.
I suppose in a way it doesn’t matter. It’s just that with my electronic/radio/audio background, that is more what I expect when I say “clipping”. The current behavior is more like you would get with “noise blanking” or limiting on a radio where a sharply rising edge, exceeding some value cuts off the signal, because human hearing is much less bothered by “holes” in the sound that by sharp spikes of noise.
When making selections on the helicorder view, it would be useful if it were somehow possible to force the selection to begin at a specific time - or maybe have the cursor step in minute “clicks” with the time selected being shown … or something similar (snap to nearest minute?).
A local event, and I wanted to compare different local stations. It would be really nice if the time scales were aligned. But I don’t see any way to achieve that other than just keep poking and trying.